NHTSA ID Number: 10236329
Manufacturer Communication Number: TSB 23-2136
Summary
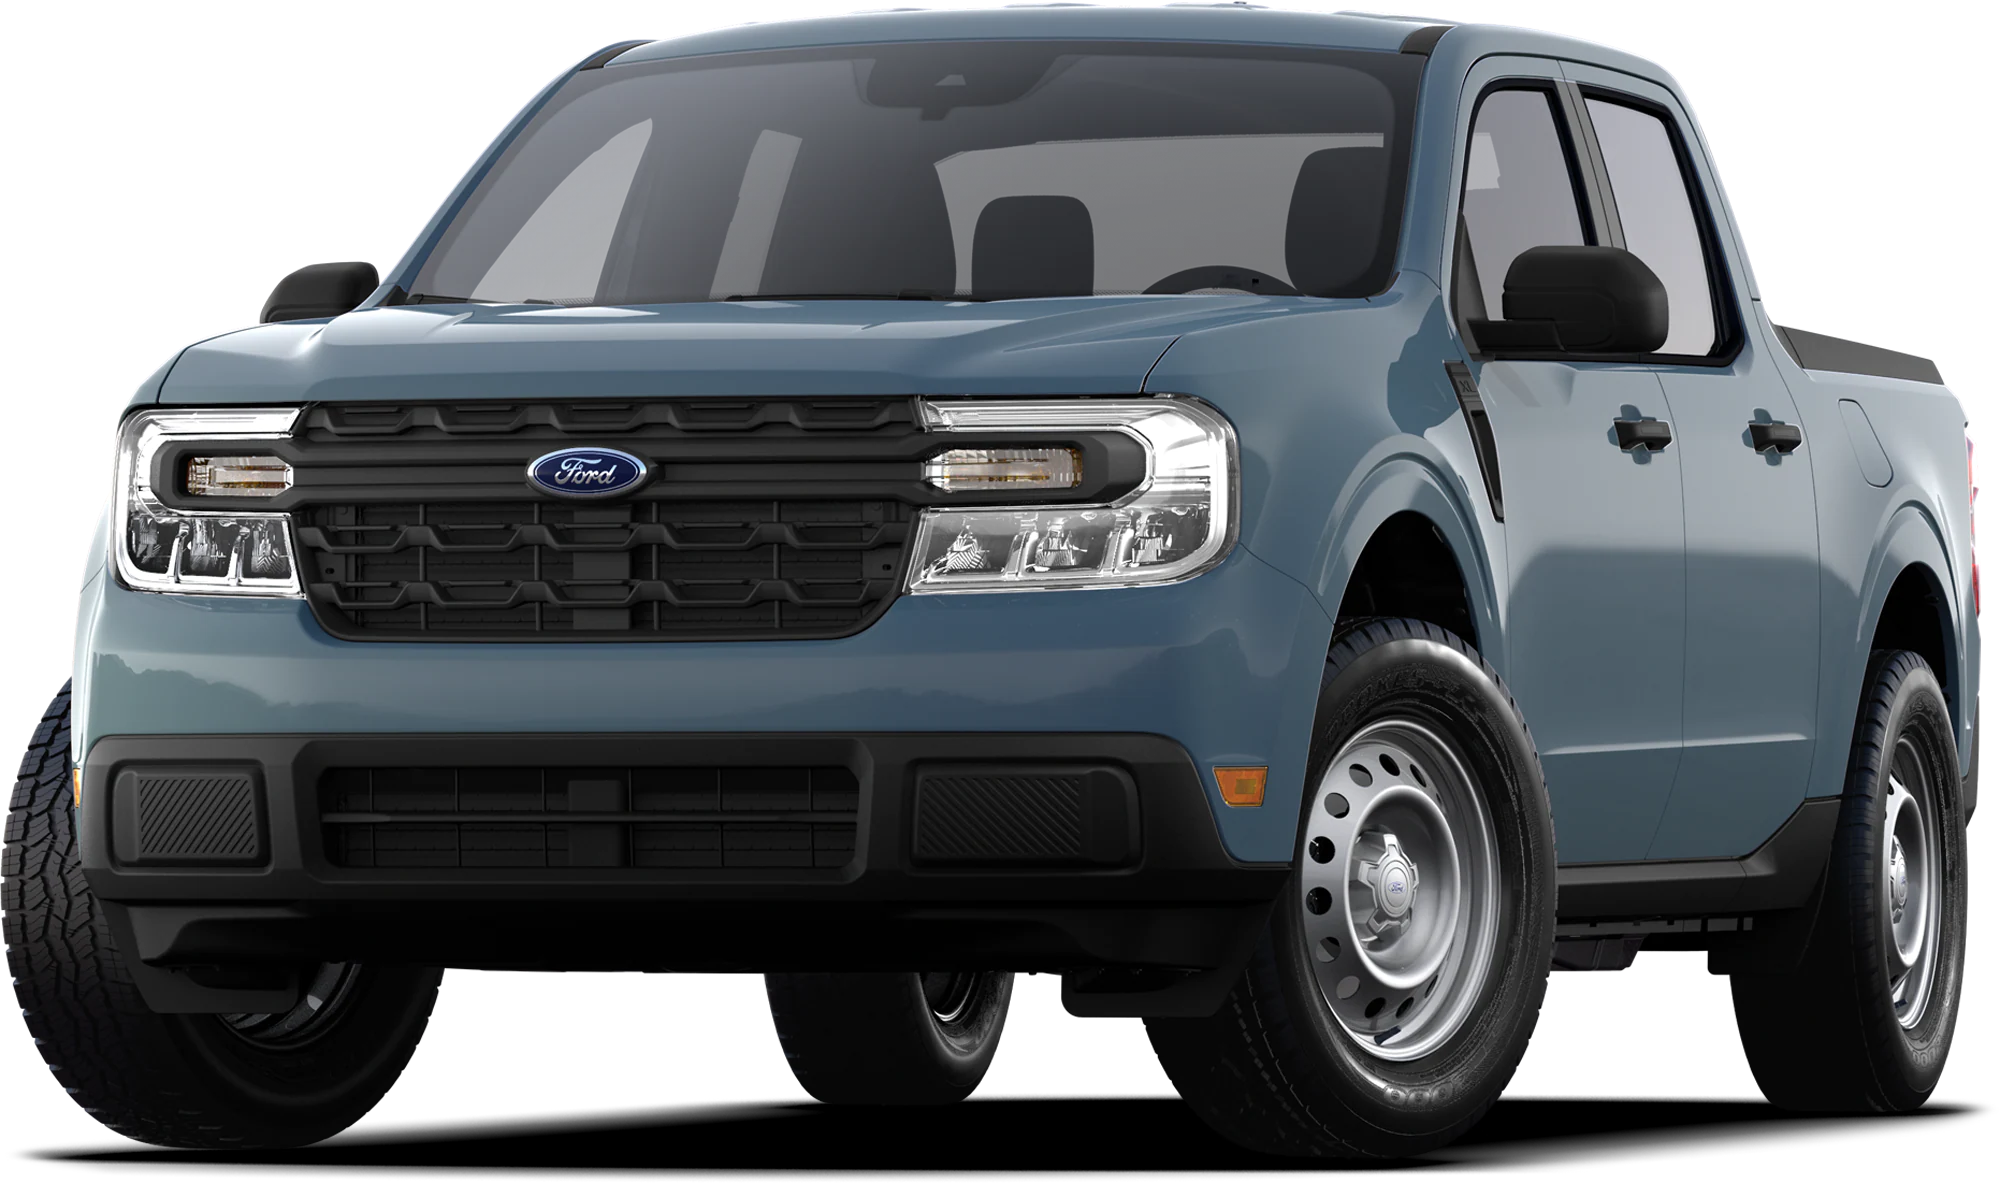
Some 2022-2023 Maverick Vehicles built on 10-Jul-2022 and through 25-Jan-2023 may exhibit a condition where the headliner is detached with exposed edges at the A-pillar trim panel or gaps between A-pillar trim panel and the weatherstrip seal. This may be due to a misaligned or out of position pin retainer. To correct this condition, follow the Service Procedure to diagnose and replace the air bag side curtain.
Model:
| Ford
2022-2023 Maverick |
Built on 10-Jul-2022 and through 25-Jan-2023
|
Issue: Some 2022-2023 Maverick Vehicles built on 10-Jul-2022 and through 25-Jan-2023 may exhibit a condition where the headliner is detached with exposed edges at the A-pillar trim panel or gaps between the A-pillar trim panel and the weatherstrip seal. This may be due to a misaligned or out of position pin retainer. To correct this condition, follow the Service Procedure to diagnose and replace the side curtain airbag.
Action: Follow the Service Procedure to correct the condition on vehicles that meet all the following criteria:
- 2022-2023 Maverick
- Built on 10-Jul-2022 and through 25-Jan-2023
- One of the following conditions:
- Headliner detached with exposed edges at the A-pillar trim panel
- Gaps between the A-pillar and the weatherstrip seal
- Side curtain airbags that were previously replaced with NZ6Z-26042D94-B (right) and NZ6Z-26042D95-B (left)
Parts
| Service Part Number | Quantity | Description | Unit of Issue | Piece Quantity |
| NZ6Z- 26042D94-B | 1 | Air Bag Side Curtain (RH) | 1 | 1 |
| NZ6Z-26042D95-B | 1 | Air Bag Side Curtain(LH) | 1 | 1 |
Parts
Parts To Inspect And Replace Only If Necessary
| Service Part Number | Quantity | Description | Unit of Issue | Piece Quantity | |
| NZ6Z-6051916-AA | 1 | Headliner Roof (Light Grey) – Less Sun roof | – | 1 | 1 |
| NZ6Z-6051916-MA | 1 | Headliner Roof (Light Grey) – Slide Sun roof | – | 1 | 1 |
| W790416-S900 | 1 | Rear Scuff Plate Trim Panel Clip | – | 4 | 1 |
W719675-S451 | 1 | Front Seat Bolts (M10 x 30mm) | – | 4 | 4 |
| NZ6Z-2603598-AC | 1 | Right A-Pillar Trim Panel | – | 1 | 1 |
| NZ6Z-2603599-AC | 1 | Left A-Pillar Trim Panel | – | 1 | 1 |
| W715828-S437 | 1 | Front Seat Bolts (M10 x 14mm) | – | 4 | 4 |
| – | As Needed | 3M™ Super-Fast Repair Adhesive 4747 | Obtain Locally |
Quantity refers to the amount of the service part number required to repair the vehicle.
Unit of Issue refers to the number of individual pieces included in a service part number package.
Piece Quantity refers to the total number of individual pieces required to repair the vehicle.
As Needed indicates the amount of the part may vary and/or is not a whole number. Parts can be billed out as non-whole numbers, including less than 1.
If Needed indicates the part is not mandatory.
Service Procedure
NOTE: Perform the following procedure on vehicles with the Field Service Action (FSA) 22C20 applied or with the updated version of the side curtain airbags NZ6Z-26042D94-B (right) and NZ6Z-26042D95-B (left).
1. Inspect the interior headliner. Are there any exposed edges in the headliner or gaps between the A-pillar and the weatherstrip seal?
Figure 1 – Example of headliner detached with exposed edges
Figure 2 – Example of gaps between the A-pillar and the weatherstrip seal
(1). Yes – proceed to Step 2.
(2). No – this article does not apply.
2. Remove and replace the affected driver or passenger side curtain airbag.
NOTE: Measure the distance between the hanger and the pin retainer in the affected side curtain airbag. (Figure 3). The distance should be between 137-143 mm. Document the measurements in the warranty claim.
Figure 3
(1). Remove both A-pillar trim panels. Refer to the WSM, Section 501-05 > Interior Trim and Ornamentation > Removal and Installation.
(2). Remove both B-pillar lower trim panels. Refer to the WSM, Section 501-05 > Interior Trim and Ornamentation > Removal and Installation.
(3). Depower the supplemental restraint system (SRS). Refer to the WSM, Section 501-20B > Supplemental Restraint System > General Procedures.
(4). Remove both B-pillar upper trim panels. Refer to the WSM, Section 501-05 Interior Trim and Ornamentation > Removal and Installation.
(5). Adjust both B-pillar sliders down, pull the sliders down to the lower position and engage the B-side hooks into the pocket. (Figure 4)
Figure 4
(6). Pull both height adjusters down. (Figure 5)
Figure 5
(7). Lower the headliner. Refer to the WSM, Section 501-05 Interior Trim > Headliner Lowering Note: Do not remove the C-Pillar trim panels.
(8). Release the locking tabs of the side curtain airbag electrical connector and disconnect the side curtain airbag electrical connector. (Figure 6)
Figure 6
(9). Remove the side curtain airbag nuts. (Figure 7)
Figure 7
• Tighten the bolts to 9 Nm. (80 lb-in)
• Tighten the T50 bolt of the step (12) to 47.5 Nm. (36 lb-ft)
(10). Remove the side curtain airbag pin retainer. (Figure 8)
Figure 8
(11). Detach the airbag hangers retainers. (Figure 9-10)
Figure 9
Figure 10
• Make sure that the upper tether is not twisted during installation.
(12). Remove the T50 Torx bolt attach to the new side curtain airbag lower tether. (Figure 11)
Figure 11
• Hand tighten the bolt during installation.
(13). Detach the airbag hanger retainers. (Figure 12)
Figure 12
(14). Remove the side curtain airbag rear bolts. (Figure 13)
Figure 13
(15). Slide the side curtain airbag rearward, disengaging the retainer to the sheet metal and remove the side curtain airbag. (Figure 14)
Figure 14
(16). Install a new side curtain airbag.
WARNING: Avoid any damage to the harness, connectors or terminals during removal and installation of the air bag. Failure to follow this direction may cause communication issues or a system malfunction.
3. To assemble the vehicle, reverse the removal procedure of Step 2.
(1). During the installation of the B-pillar upper trim, make sure the correct connection exists between the height adjuster and B-pillar upper trim. (Figure 15)
Figure 15
(2). When reassembled, make sure that the B-pillar clips are correctly inserted in the T-shape slots. An audible click is heard when correctly reassembled. (Figure 16)
Figure 16
(3). Slide the B-pillar upper trim up and down 3 times to make sure it is properly assembled. (Figure 17)
Figure 17
(4). Inspect and position the front and rear door weatherstrip edges so that they overlap the top of the B-pillar upper trim panel. (Figure 18)
Figure 18
(5). Check the seatbelt system for correct operation. Refer to WSM, Section 501-20A Seatbelt Systems > General Procedures.
4. Inspect the headliner for any exposed edges at A-pillar trim panel or gaps between the A-pillar trim panel and the weatherstrip. If no exposed edges or gaps appear, the repair is complete. If one of the conditions persist, proceed to Step 5.
5. Inspect if the headliner is detached with exposed edges in the upper section of the A-pillar. Is the headliner detached with exposed edges at driver or passenger A-pillar trim panel?
(1). Yes – replace the headliner. Refer to the WSM, Section 501-05 > Interior Trim and Ornamentation > Removal and Installation > Headliner. Repair is complete.
NOTE: Do not remove the C-pillar trim panels.
(2). No – proceed to Step 6.
6. Inspect the A-pillar for a gap between the A-pillar and weatherstrip. If the gap persists, replace the A-pillar trim panel. Refer to WSM, Section 501-05 Interior Trim and Ornamentation > Removal and Installation > A-Pillar Trim Panel.
2 Affected Products
Vehicle
| MAKE | MODEL | YEAR |
| FORD | MAVERICK | 2022-2023 |
1 Associated Document
Manufacturer Communications
23-2136
12 May 2023
MC-10236329-0001.pdf 1583.506KB
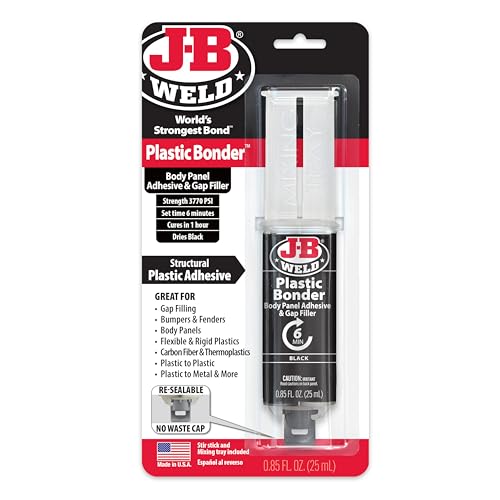
- Plasticbonder: Is A Quick-Set, 2 Part, Urethane Adhesive System That Provides Strong, Lasting Repairs And Works On Thermoset, Carbon Fiber Composites, Thermoplastics, Coated Metals, Concrete & More.
- Count On Us: For More Than 40 Years, Our Products Have Earned A Loyal Following From People Who Take Pride In Their Work. With Each Product We Innovate, We Continue To Provide The World'S Strongest Bond For Your Projects.
- Simple To Use: J-B Plasticbonder Has A 1:1 Mixing Ratio, Sets In 15 Minutes And Can Be Sanded After 30 Minutes. With A Tensile Strength Of 3770 Psi, Plasticbonder Cures To A Hard, Permanent Bond.
- Versatile And Dependable: Perfect For Indoor Or Outdoor Use, Epoxy & Adhesives, Plastic, Composite, Pvc, And More. Plastic Bonder Makes A Great Gap Filler And Dries Black In Color.

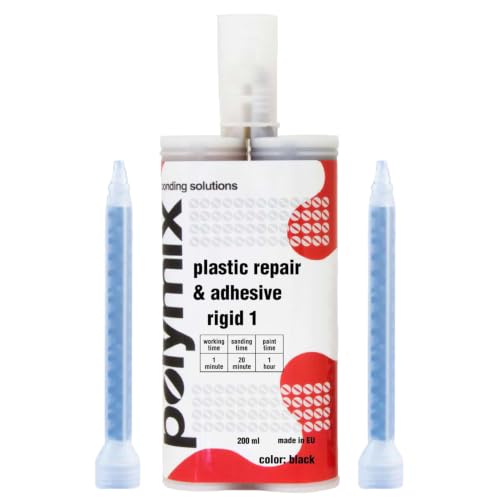
- Two Component Polyurethane Adhesive: Room temperature curing, natural colored, odorless, thixotropic polyurethane adhesive designed for structural bonding of a wide range of materials including thermosetting and thermoplastic materials, steel, aluminum, concrete, wood and glass
- Two Part Urethane Plastic Repair System: Structural adhesive for repairing various plastic parts with one minute working time, making this product suitable for small size repairs and comes in a dual-syringe cartridge for metered static mixing with two disposable nozzles
- Fast Curing Times: Working time of 1 minute, sanding time of 20 minutes, painting time of 1 hour, and full cure time of 90 minutes to help you complete your projects efficiently
- Cartridge Gun Compatible: Compatible with most standard cartridge guns for easy dispensing and application, cartridge gun not included with purchase
- Multipurpose Automotive Solution: Designed for rigid automotive plastic repairs and structural bonding applications across multiple material types, providing strong adhesion for various needs

- J-B WELD PLASTICBONDER (Tan): A quick setting and multipurpose two part urethane adhesive & gap filling system that provides a strong and lasting bond to many plastic surfaces. J-B Weld PlasticBonder is great for DIY plastic repairs, filling dents, bumper repairs and more! J-B Weld PlasticBonder now comes in a syringe allowing for an easy 1:1 mix ratio. The unique syringe has a re-sealable cap that prevents drying out and leaking, allowing for multiple uses!
- CURE AND SET TIME: After mixing the two part formula with the included mixing tray and stir stick, PlasticBonder takes 15 minutes to set and 30 hours to cure. J-B Weld PlasticBonder set and cure color is tan
- STRENGTH: J-B Weld PlasticBonder has tensile strength of 3770 PSI.
- SURFACE APPLICATIONS: Thermoset & Carbon Fiber Composites, Thermoplastics and Coated Metals, Plastic & PVC, Concrete, Ceramic & Tile, Fiberglass, and Aluminum.
- DO IT YOURSELF: Big or small, you can DIY it with J-B Weld. Our heavy duty epoxy and adhesives repair & restore it right the first time. J-B Weld delivers superior performance, quality, and results for the World’s Strongest Bond.

- BEST CHOICE FOR REPAIR: Dreahlife plastic glue is the ideal solution for repairing damaged plastic items. Designed for various plastic applications, our strong adhesive creates seamless, invisible bonds that endure, ensuring your plastic look as good as new
- Strong and Instant Bonding: Our super glue for plastic delivers rapid bonding with robust adhesion, drying in just 10-30 seconds to create a quick and durable bond. This makes it ideal for a wide range of applications, ensuring reliable and efficient repairs every time
- HOW TO USE: 1:Ensure the bonding surfaces are clean, dry, and dust-free. 2:Unscrew the cap and evenly apply the glue to the surface that needs repair. 3:Press the surfaces together immediately and hold for 10-15 seconds. You’re done! Allow the bond to fully cure for 24 hours. Pro tip: After using, promptly close the bottle cap to prevent the glue from drying out
- Precise Repair: Super glue for plastic is crafted for effortless application, featuring precision nozzles that enable accurate placement. Each bottle of plastic glue comes with specially designed applicator tips, allowing you to apply the adhesive precisely where it’s needed, ensuring a clean and efficient bonding experience
- Multi-Purpose Repair: Dreahlife plastic super glue is the ideal choice for all types of plastic repairs. Our plastic glue perfect for plastic materials together. Such as Plastic toys, plastic models, acrylic products, plastic chairs, eyeglass frames, car parts, sunglasses, etc

- DURABLE YET FLEXIBLE: For automotive plastic panel repair and for matching OEM seam sealers
- TWO-PART EPOXY: Adhesive is automatically metered for proper ratio
- EASILY SANDABLE: Ready to sand in 15 minutes for a smooth finish without rework
- QUICKLY PAINTABLE: Ready in as little as 30 minutes for increased vehicle throughput
- PART OF A COMPLETE REPAIR SYSTEM: Works with 3M applicator guns and adhesion promoters
SEOCONTENT-START
5/15/23, 11:10 AM https://www.fordservicecontent.com/Ford_Content/vdirsnet/TSB/EU/~WTSB23-2136/US/EN/~UEmployee/defaul t.aspx?VIN=&ve… https://www.fordservicecontent.com/Ford_Content/vdirsnet/TSB/EU/~WTSB23-2136/US/EN/~UEmployee/defaul t.aspx?VIN=&version=4.0&environm… 1/11 TECHNICAL SERVICE BULLETIN Headliner Detached With Exposed Edges At A-Pillar Trim Panel Or Gaps Between The A-Pillar Trim Panel And The Weatherstrip Seal 23-2136 12 May 2023 Model: Ford 2022-2023 Maverick Built on 10-Jul-2022 and through 25-Jan-2023 Issue: Some 2022-2023 Maverick Vehicles built on 10-Jul-2022 and through 25-Jan-2023 may exhibit a condition where the headliner is detached with exposed edges at the A-pillar trim panel or gaps between the A-pillar trim panel and the weatherstrip seal. This may be due to a misaligned or out of position pin retainer. To correct this condition, follow the Service Procedure to diagnose and replace the side curtain airbag. Action: Follow the Service Procedure to correct the condition on vehicles that meet all the following criteria: • 2022-2023 Maverick • Built on 10-Jul-2022 and through 25-Jan-2023 • One of the following conditions: – Headliner detached with exposed edges at the A-pillar trim panel – Gaps between the A-pillar and the weatherstrip seal – Side curtain airbags that were previously replaced with NZ6Z-26042D94-B (right) and NZ6Z- 26042D95-B (left) Parts Service Part Number Quantity Description Unit of Issue Piece Quantity NZ6Z- 26042D94-B 1 Air Bag Side Curtain (RH) 1 1 NZ6Z-26042D95-B 1 Air Bag Side Curtain(LH) 1 1 Parts Parts To Inspect And Replace Only If Necessary Service Part Number NZ6Z-6051916-AA NZ6Z-6051916-MA W790416-S900 W719675-S451 NZ6Z-2603598-AC NZ6Z-2603599-AC W715828-S437 – Quantity 1 1 1 1 1 1 1 As Needed Description Headliner Roof (Light Grey) – Less Sun roof Headliner Roof (Light Grey) – Slide Sun roof Rear Scuff Plate Trim Panel Clip Front Seat Bolts (M10 x 30mm) Right A-Pillar Trim Panel Left A-Pillar Trim Panel Front Seat Bolts (M10 x 14mm) 3M™ Super-Fast Repair Adhesive 4747 – – – – – – – Obtain Locally Unit of Issue 1 1 4 4 1 1 4 Piece Quantity 1 1 1 4 1 1 4 Quantity refers to the amount of the service part number required to repair the vehicle. Unit of Issue refers to the number of individual pieces included in a service part number package. Piece Quantity refers to the total number of individual pieces required to repair the vehicle. 5/15/23, 11:10 AM https://www.fordservicecontent.com/Ford_Content/vdirsnet/TSB/EU/~WTSB23-2136/US/EN/~UEmployee/defaul t.aspx?VIN=&ve… As Needed indicates the amount of the part may vary and/or is not a whole number. Parts can be billed out as non- whole numbers, including less than 1. If Needed indicates the part is not mandatory. Warranty Status: Eligible under provisions of New Vehicle Limited Warranty (NVLW)/Service Part Warranty (SPW)/Special Service Part (SSP)/Extended Service Plan (ESP) coverage. Limits/policies/prior approvals are not altered by a TSB. NVLW/SPW/SSP/ESP coverage limits are determined by the identified causal part and verified using the OASIS part coverage tool. Labor Times Description 2022-2023 Maverick: Inspect Headliner, Replace One Side Curtain Air Bag, Inspect Headliner (PASS) (Do Not Use With Any Other Labor Operations) 2022-2023 Maverick: Inspect Headliner, Replace Both Side Curtain Air Bags, Inspect Headliner (PASS) (Do Not Use With Any Other Labor Operations) 2022-2023 Maverick: Inspect Headliner, Replace One Side Curtain Air Bag, Inspect Headliner (FAIL), Replace Headliner (Do Not Use With Any Other Labor Operations) 2022-2023 Maverick: Inspect Headliner, Replace Both Side Curtain Air Bags, Inspect Headliner (FAIL), Replace Headliner (Do Not Use With Any Other Labor Operations) 2022-2023 Maverick: Inspect Headliner, Replace One Side Curtain Air Bag, Inspect Headliner (FAIL), Replace One A-Pillar (Do Not Use With Any Other Labor Operations) 2022-2023 Maverick: Inspect Headliner, Replace Both Side Curtain Air Bags, Inspect Headliner (FAIL), Replace Both A-Pillars (Do Not Use With Any Other Labor Operations) Operation No. 232136A 232136B 232136C 232136D 232136E 232136F Time 1.6 Hrs. 1.9 Hrs. 4.1 Hrs. 4.4 Hrs. 1.7 Hrs. 2 Hrs. Repair/Claim Coding Causal Part: 26042D94 Condition Code: 07 Service Procedure NOTE: Perform the following procedure on vehicles with the Field Service Action (FSA) 22C20 applied or with the updated version of the side curtain airbags NZ6Z-26042D94-B (right) and NZ6Z-26042D95-B (left). 1. Inspect the interior headliner. Are there any exposed edges in the headliner or gaps between the A-pillar and the weatherstrip seal? Figure 1 – Example of headliner detached with exposed edges Figure 2 – Example of gaps between the A-pillar and the weatherstrip seal https://www.fordservicecontent.com/Ford_Content/vdirsnet/TSB/EU/~WTSB23-2136/US/EN/~UEmployee/defaul t.aspx?VIN=&version=4.0&environm… 2/11 5/15/23, 11:10 AM https://www.fordservicecontent.com/Ford_Content/vdirsnet/TSB/EU/~WTSB23-2136/US/EN/~UEmployee/defaul t.aspx?VIN=&ve… (1). Yes – proceed to Step 2. (2). No – this article does not apply. 2. Remove and replace the affected driver or passenger side curtain airbag. NOTE: Measure the distance between the hanger and the pin retainer in the affected side curtain airbag. (Figure 3). The distance should be between 137-143 mm. Document the measurements in the warranty claim. Figure 3 (1). Remove both A-pillar trim panels. Refer to the WSM, Section 501-05 > Interior Trim and Ornamentation > Removal and Installation. (2). Remove both B-pillar lower trim panels. Refer to the WSM, Section 501-05 > Interior Trim and Ornamentation > Removal and Installation. (3). Depower the supplemental restraint system (SRS). Refer to the WSM, Section 501-20B > Supplemental Restraint System > General Procedures. (4). Remove both B-pillar upper trim panels. Refer to the WSM, Section 501-05 Interior Trim and Ornamentation > Removal and Installation. (5). Adjust both B-pillar sliders down, pull the sliders down to the lower position and engage the B-side hooks into the pocket. (Figure 4) https://www.fordservicecontent.com/Ford_Content/vdirsnet/TSB/EU/~WTSB23-2136/US/EN/~UEmployee/defaul t.aspx?VIN=&version=4.0&environm… 3/11 5/15/23, 11:10 AM https://www.fordservicecontent.com/Ford_Content/vdirsnet/TSB/EU/~WTSB23-2136/US/EN/~UEmployee/defaul t.aspx?VIN=&ve… Figure 4 (6). Pull both height adjusters down. (Figure 5) Figure 5 (7). Lower the headliner. Refer to the WSM, Section 501-05 Interior Trim > Headliner Lowering Note: Do not remove the C-Pillar trim panels. (8). Release the locking tabs of the side curtain airbag electrical connector and disconnect the side curtain airbag electrical connector. (Figure 6) Figure 6 https://www.fordservicecontent.com/Ford_Content/vdirsnet/TSB/EU/~WTSB23-2136/US/EN/~UEmployee/defaul t.aspx?VIN=&version=4.0&environm… 4/11 5/15/23, 11:10 AM https://www.fordservicecontent.com/Ford_Content/vdirsnet/TSB/EU/~WTSB23-2136/US/EN/~UEmployee/defaul t.aspx?VIN=&ve… (9). Remove the side curtain airbag nuts. (Figure 7) Figure 7 • Tighten the bolts to 9 Nm. (80 lb-in) • Tighten the T50 bolt of the step (12) to 47.5 Nm. (36 lb-ft) (10). Remove the side curtain airbag pin retainer. (Figure 8) Figure 8 https://www.fordservicecontent.com/Ford_Content/vdirsnet/TSB/EU/~WTSB23-2136/US/EN/~UEmployee/defaul t.aspx?VIN=&version=4.0&environm… 5/11 5/15/23, 11:10 AM https://www.fordservicecontent.com/Ford_Content/vdirsnet/TSB/EU/~WTSB23-2136/US/EN/~UEmployee/defaul t.aspx?VIN=&ve… (11). Detach the airbag hangers retainers. (Figure 9-10) Figure 9 Figure 10 https://www.fordservicecontent.com/Ford_Content/vdirsnet/TSB/EU/~WTSB23-2136/US/EN/~UEmployee/defaul t.aspx?VIN=&version=4.0&environm… 6/11 5/15/23, 11:10 AM https://www.fordservicecontent.com/Ford_Content/vdirsnet/TSB/EU/~WTSB23-2136/US/EN/~UEmployee/defaul t.aspx?VIN=&ve… • Make sure that the upper tether is not twisted during installation. (12). Remove the T50 Torx bolt attach to the new side curtain airbag lower tether. (Figure 11) Figure 11 • Hand tighten the bolt during installation. (13). Detach the airbag hanger retainers. (Figure 12) Figure 12 https://www.fordservicecontent.com/Ford_Content/vdirsnet/TSB/EU/~WTSB23-2136/US/EN/~UEmployee/defaul t.aspx?VIN=&version=4.0&environm… 7/11 5/15/23, 11:10 AM https://www.fordservicecontent.com/Ford_Content/vdirsnet/TSB/EU/~WTSB23-2136/US/EN/~UEmployee/defaul t.aspx?VIN=&ve… (14). Remove the side curtain airbag rear bolts. (Figure 13) Figure 13 (15). Slide the side curtain airbag rearward, disengaging the retainer to the sheet metal and remove the side curtain airbag. (Figure 14) Figure 14 https://www.fordservicecontent.com/Ford_Content/vdirsnet/TSB/EU/~WTSB23-2136/US/EN/~UEmployee/defaul t.aspx?VIN=&version=4.0&environm… 8/11 5/15/23, 11:10 AM https://www.fordservicecontent.com/Ford_Content/vdirsnet/TSB/EU/~WTSB23-2136/US/EN/~UEmployee/defaul t.aspx?VIN=&ve… (16). Install a new side curtain airbag. WARNING: Avoid any damage to the harness, connectors or terminals during removal and installation of the air bag. Failure to follow this direction may cause communication issues or a system malfunction. 3. To assemble the vehicle, reverse the removal procedure of Step 2. (1). During the installation of the B-pillar upper trim, make sure the correct connection exists between the height adjuster and B-pillar upper trim. (Figure 15) Figure 15 (2). When reassembled, make sure that the B-pillar clips are correctly inserted in the T-shape slots. An audible click is heard when correctly reassembled. (Figure 16) Figure 16 https://www.fordservicecontent.com/Ford_Content/vdirsnet/TSB/EU/~WTSB23-2136/US/EN/~UEmployee/defaul t.aspx?VIN=&version=4.0&environm… 9/11 5/15/23, 11:10 AM https://www.fordservicecontent.com/Ford_Content/vdirsnet/TSB/EU/~WTSB23-2136/US/EN/~UEmployee/defaul t.aspx?VIN=&ve… (3). Slide the B-pillar upper trim up and down 3 times to make sure it is properly assembled. (Figure 17) Figure 17 (4). Inspect and position the front and rear door weatherstrip edges so that they overlap the top of the B-pillar upper trim panel. (Figure 18) Figure 18 https://www.fordservicecontent.com/Ford_Content/vdirsnet/TSB/EU/~WTSB23-2136/US/EN/~UEmployee/defaul t.aspx?VIN=&version=4.0&environ… 10/11 5/15/23, 11:10 AM https://www.fordservicecontent.com/Ford_Content/vdirsnet/TSB/EU/~WTSB23-2136/US/EN/~UEmployee/defaul t.aspx?VIN=&ve… https://www.fordservicecontent.com/Ford_Content/vdirsnet/TSB/EU/~WTSB23-2136/US/EN/~UEmployee/defaul t.aspx?VIN=&version=4.0&environ… 11/11 (5). Check the seatbelt system for correct operation. Refer to WSM, Section 501-20A Seatbelt Systems > General Procedures. 4. Inspect the headliner for any exposed edges at A-pillar trim panel or gaps between the A-pillar trim panel and the weatherstrip. If no exposed edges or gaps appear, the repair is complete. If one of the conditions persist, proceed to Step 5. 5. Inspect if the headliner is detached with exposed edges in the upper section of the A-pillar. Is the headliner detached with exposed edges at driver or passenger A-pillar trim panel? (1). Yes – replace the headliner. Refer to the WSM, Section 501-05 > Interior Trim and Ornamentation > Removal and Installation > Headliner. Repair is complete. NOTE: Do not remove the C-pillar trim panels. (2). No – proceed to Step 6. 6. Inspect the A-pillar for a gap between the A-pillar and weatherstrip. If the gap persists, replace the A-pillar trim panel. Refer to WSM, Section 501-05 Interior Trim and Ornamentation > Removal and Installation > A-Pillar Trim Panel. © 2023 Ford Motor Company All rights reserved. NOTE: The information in Technical Service Bulletins is intended for use by trained, professional technicians with the knowledge, tools, and equipment to do the job properly and safely. It informs these technicians of conditions that may occur on some vehicles, or provides information that could assist in proper vehicle service. The procedures should not be performed by “do-it-yourselfers”. Do not assume that a condition described affects your car or truck. Contact a Ford or Lincoln dealership to determine whether the Bulletin applies to your vehicle. Warranty Policy and Extended Service Plan documentation determine Warranty and/or Extended Service Plan coverage unless stated otherwise in the TSB article. The information in this Technical Service Bulletin (TSB) was current at the time of printing. Ford Motor Company reserves the right de this information with updates. The most recent information is available through Ford Motor Company’s on-line technical resources.
**************************************************************************************************************
**************************************************************************************************************
SEOCONTENT-END
This product presentation was made with AAWP plugin.